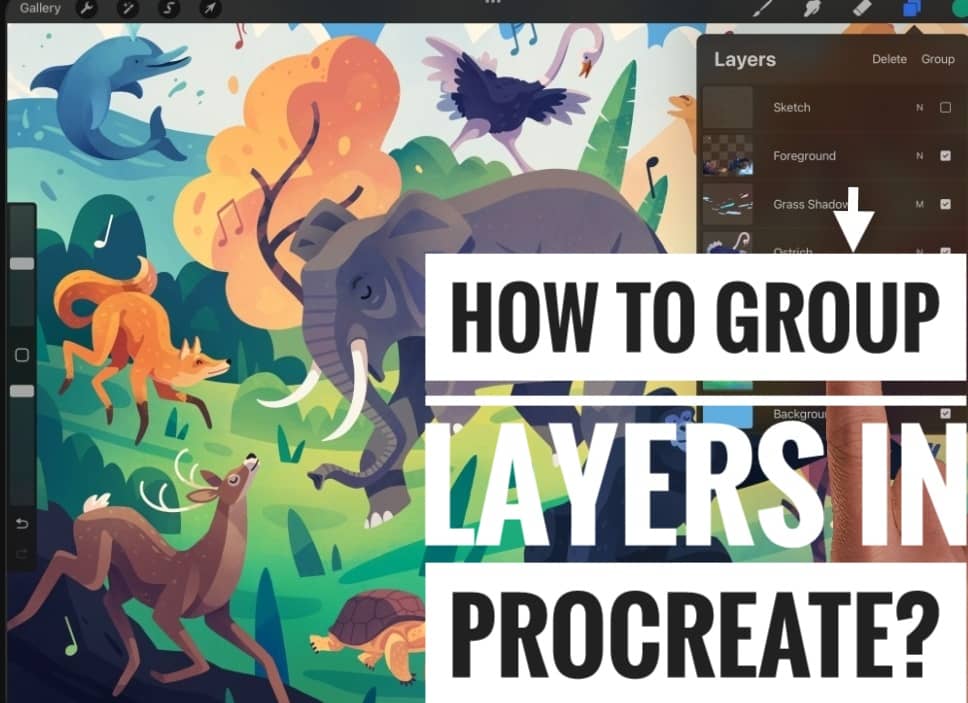
✅How to group layers in Procreate🎨? Updated guide 2023
How to group layers in procreate: Procreate is one of the most advanced mobile painting applications ever. It is an app that works on iOS and iPad. This application provides the user with many functions and editing options, making this app easy and interactive.

Some features of Procreate include QuickShape, StreamLine, Drawing Assist, and ColorDrop.
Some basic tools available on the procreate application are Smudge, Paint, and erase.
We are here to learn about how to group layers in procreate. Here are some questions that might arise when you are about to do the layers part in the procreate app.
What are Layers in procreate application?
Layers are a digital feature in image editing software. One can stack image elements on one another and can freely edit image elements by selecting a particular layer without hampering the other image elements.
While using the layer feature, you can select various background colors.
You can also decide whether you want a background or not. If the background option is not selected, you can use the image you have created using Photoshop to procreate directly on the desired background.
Why should Layers be used?
Layers are a primary method for arranging the various steps in drawing by operations and purpose. Layers can reduce the stress of doing the smallest of the details of a drawing. It also helps to improve the display’s performance by not showing information that is not needed to be shown.
Layers should be used to edit a part of the image without hampering the other parts, which are completely fine and require no editing.
What does the grouping of layers mean?
Grouping the layers is extremely useful when working on a complex project, and various parts could need editing while doing editing.
With the help of this layer function, you can easily choose the part you need to edit to make the image you are editing look good.
How do group layers in procreate?
This is considered to be a tricky process as no feature is advertised.
To group layers in procreate, tap on the layers option on the top right of your device.
You will then see the various layers that you have made. You have to select the layers you want in a group by tapping on the first layer and then sliding right on the other layers you desire to have in a group.
Once you have selected the layers you want, tap the group option on the layers menu.
This will put the selected layers into one group.
If you wish to change the name of the layer group, you have to tap on it again, and you will see the rename option. Select the option and rename whatever you want the name to be.
Then you will see a flatten option when you tap on the layer group, combining the layers into one image.
What do if you want to release the group?
There is no simple way to release a group of images in a layer.
To remove a layer from the group, you have to tap and hold the layer and slide it out of the group. Repeat the same thing for the other layers as well.
To delete a group, just slide left on the group. There, an option to delete will pop up. Select it, and the group will be deleted.
Layer limit
Layer limits depend on the RAM of the device you are working with. The higher the RAM, you will get the greater number of layers.
