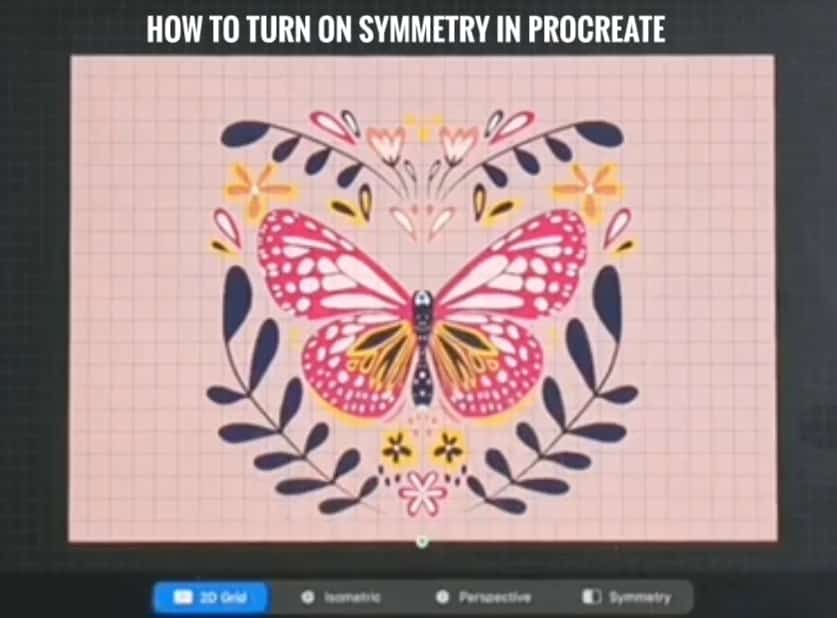
✅How to Turn on Symmetry in Procreate🎨
How to Turn on Symmetry in Procreate As you guys know, Procreate is an advanced graphical artwork app to create enormous and creative digital illustrations, detailed paintings, editing, and many more. IOS users can only use this app.
This app was developed by Savage Interactive and was launched by Apple in 2011. Procreate can be used only in the latest versions of iPad pro (existing iPad pro versions since 2018).
Procreate is designed with many powerful advanced tools, making drawing easier. This app can be used by anyone, whether you are a beginner, intermediate, or a pro.
But, if you are a beginner, you may learn about the tips and tricks of each and every tool in the app and how to create graphical content and digital illustrations.
You will surely love to use this app if you are entirely aware of it. If you understand all the specifications and functions of the app, it starts to grasp your creativity and put it on the screen.
Even though you have an idea of how to use the app tools, you may have confusion or not have a clear idea about how to use the symmetry tool in your artwork. If you have that issue, you may go through this article till the end.
What is the Feature – “Symmetry”?
When you want to draw some artworks like mandala, Rangoli, or circular designs, you observe that the design is repeated. So, if you want an even design and don’t want to draw the designs repeatedly, the Symmetry tool helps you.
Symmetry is nothing but the reflection of your artwork in different directions where you desire to draw the same thing. The advantage of the symmetrical feature is that you can only draw the pattern once.
If you select the pattern, use the symmetry feature, and specify the settings, the app itself draw your pattern in the other directions and helps you complete your drawing. Same as a symmetrical feature, many other features reduce your work in drawing.
How to Find Out “Symmetry” and How to Use it in Procreate?
When you select the canvas and start drawing in Procreate, you can see different tools around the canvas. After that, follow the below mentioned steps:
- Select the Wrench tool:
Besides the Gallery icon, you can see the Wrench tool. Tap to select that icon.
- Turn on the drawing guide:
As soon as you click the wrench tool, the Actions tab appears. In the actions tab, you again see sub-tabs below. Among them, select the Canvas tab and turn on the Drawing guide.
Select Edit Drawing Guide. Then select Symmetry among the four types.
Now, the symmetrical drawing grid/guide opens on your canvas. There are many variations in the symmetrical grid. Select one of them as per your type of design.
You can edit the grid, adjust the center point, and even specify the setting like thickness, opacity, and Symmetry (Rotational Symmetry or Assisted drawing).
There are four different types of symmetry guide options. They are –
- Horizontal
- Vertical
- Quadrant
- Radial
Horizontal:
If you select the horizontal guide, your design is reflected either on the left side or right side. If you draw towards the left of the gridline, the same plan is reflected right side of the line like a mirror. And if you draw towards the right of the grid line, the same design is reflected left to the line like a mirror. Design in on
Vertical:
If you select the vertical guide, your design is reflected either upwards or downwards. If you draw at the top of the grid line, the same design is reflected below the line like a mirror. And if you draw at the bottom of the grid line, the same design is reflected above the line like a mirror.
Quadrant:
If you want to reflect the design horizontally and vertically, this feature can be applied. Once you select the quadrant tool, the canvas is divided into four boxes, and if you start drawing the design in one box, the same design is reflected in the other three boxes, respectively.
Radial:
The radial tool works similarly to the quadrant tool. But here, the canvas is divided into eight parts in 3 directions – horizontal, vertical, and diagonal. When you select one segment and draw, the same design is reflected in the other seven segments respectively and forms a beautiful circular design.
Wrapping up…
Therefore, these are the steps you need to follow to use the Symmetry in your design. Now, you clearly understand the steps and start drawing symmetrical designs. Procreate made it easier to draw anything and everything with perfection.

